A snagging report is the deliverable you receive after an inspection — a structured, photographed list of every defect identified in your new home. It's also the document that does the heavy lifting in the conversation with your builder. A clear, professional report is what turns "we noticed a few issues" into a list the developer can't easily ignore. It is the end product of a snagging survey Ireland buyers commission before handover.
Here's what should be inside a properly prepared snagging report, and how to use it. For the underlying concept, see our guide to what is a snag list.
What's Actually Inside a Snagging Report
1. Itemised Defect List
The core of the report is a numbered list of every issue identified during the inspection, typically grouped by room or area. Each item is a single defect — for example, "Kitchen — chip in worktop near sink, approx. 3cm" — with enough detail that a trade reading the report can identify what to fix without needing to be on the call.
2. Photographs with Annotations
Every defect should be backed by a photograph. Wide shots establish location ("which wall in which bedroom") and close-ups show the actual issue. Where helpful, photos are annotated with arrows or circles to direct the eye. Without photos, defects become a "your word vs theirs" argument; with them, the evidence is unambiguous.
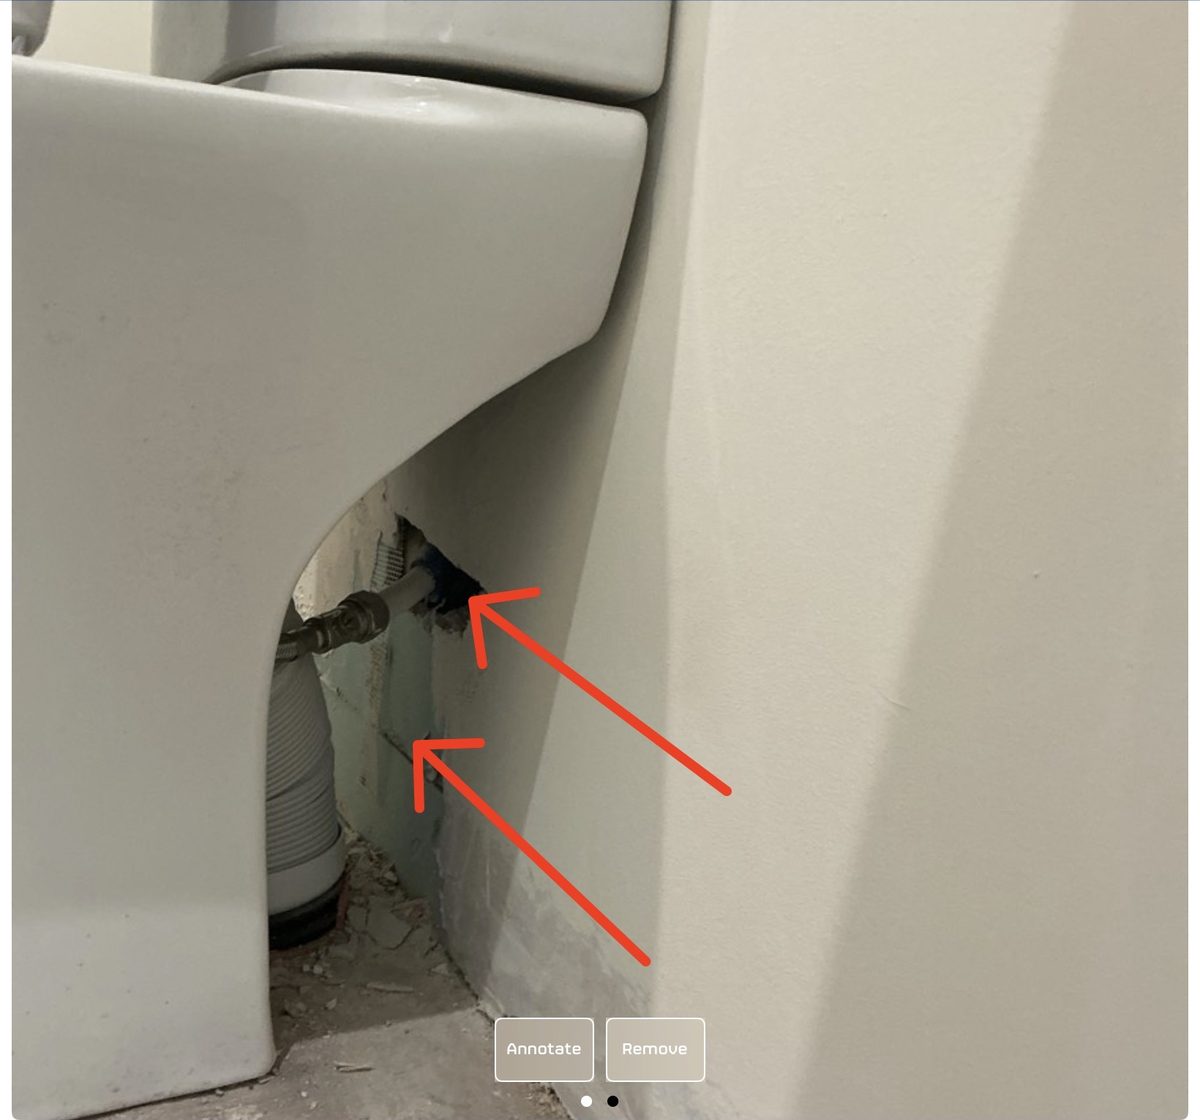
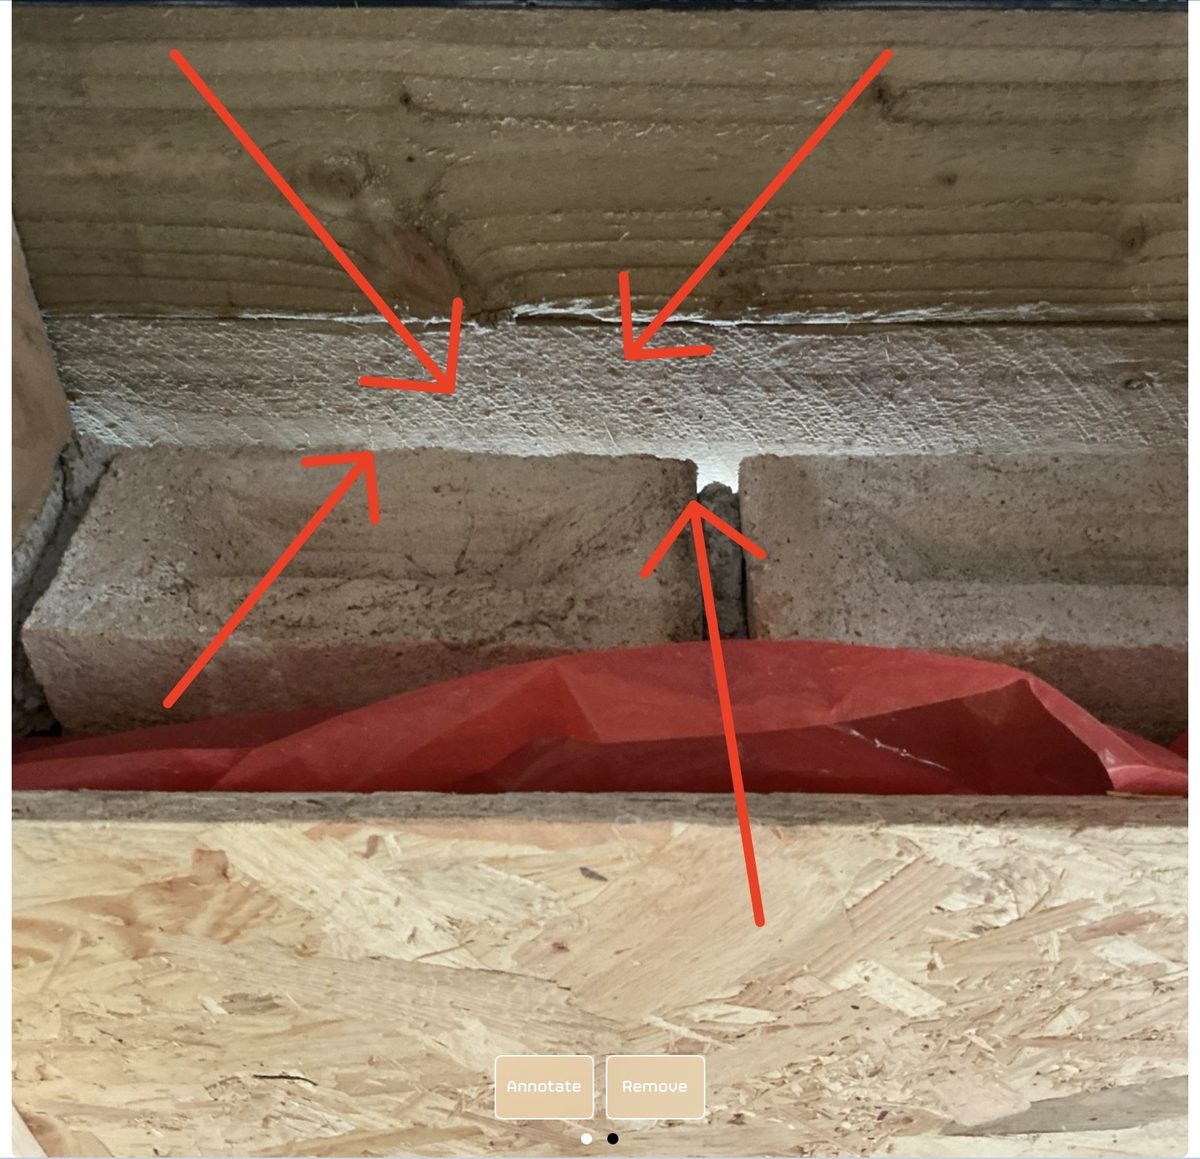
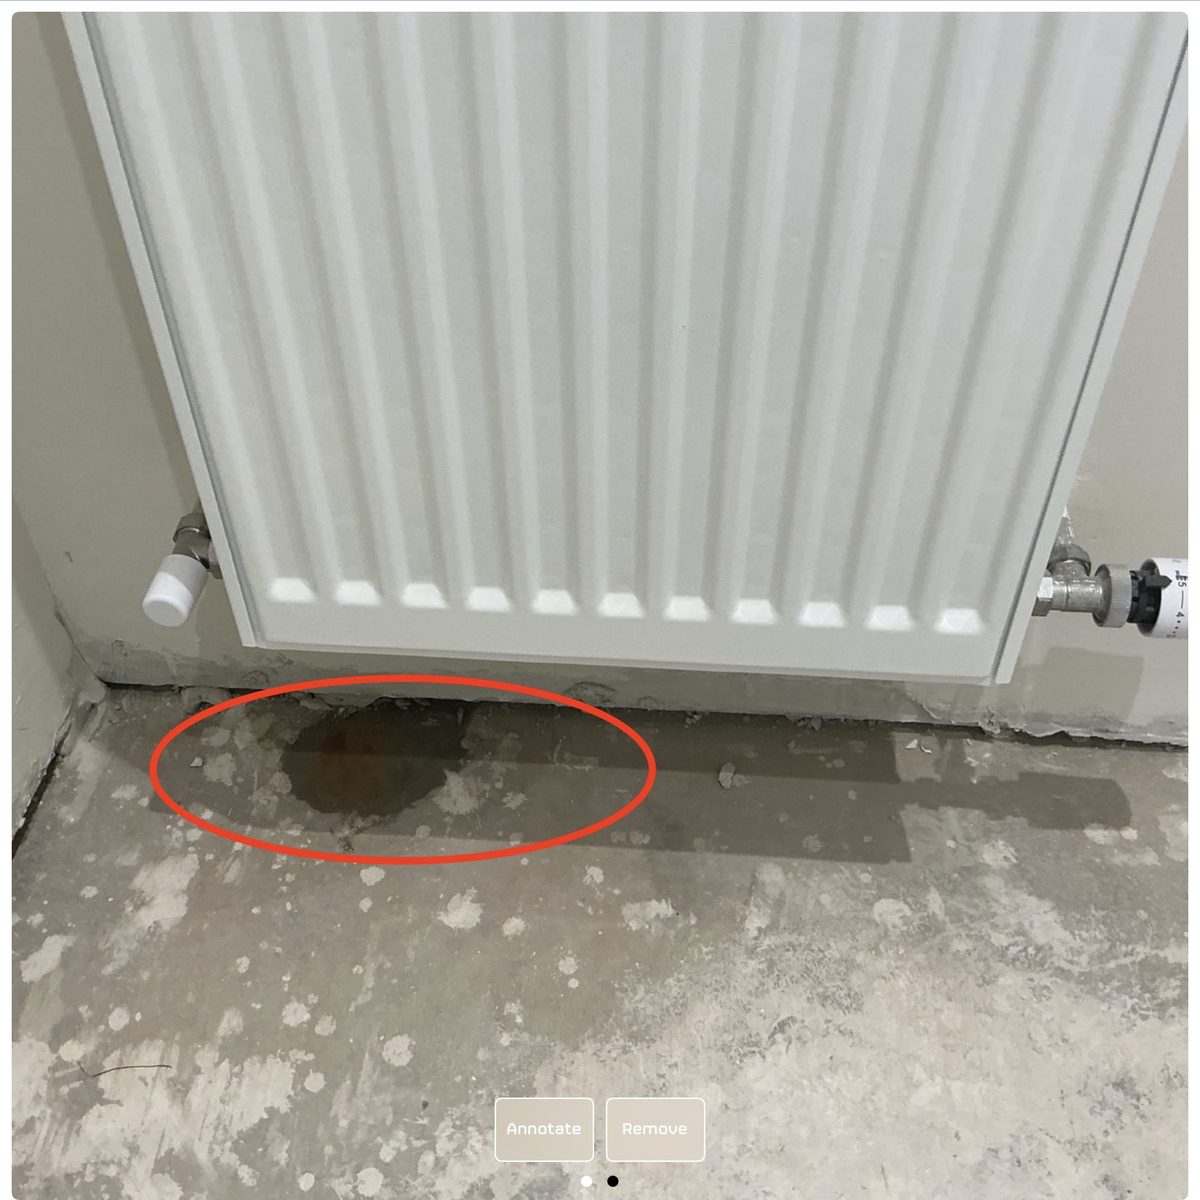
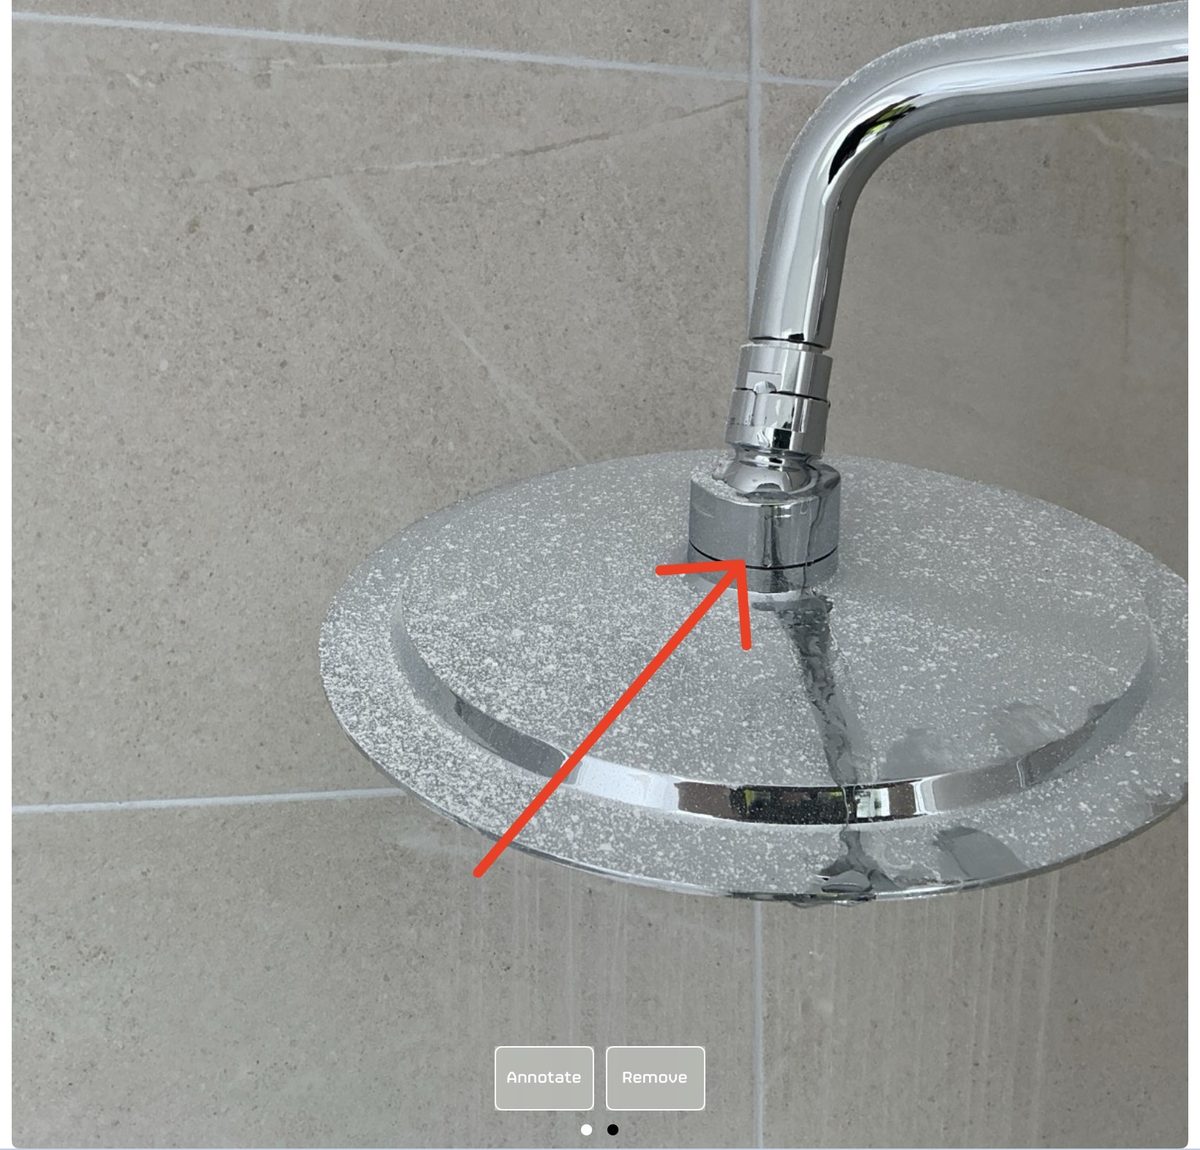
The screenshots above are from real SnagSafe inspection reports — each defect is photographed, captioned and assigned an issue number that the builder can work through one by one.
3. Severity or Category Guidance
Not every defect is created equal. A good report distinguishes between:
- Safety / urgent — anything affecting health and safety (e.g. faulty smoke alarm, exposed wiring)
- Functional — items that affect normal use (e.g. door that won't latch, leaking tap)
- Cosmetic — finishing issues that don't affect function (e.g. paint touch-ups, scuffs)
- Monitor — minor cracks or items that need observation, not immediate action
This helps you decide what to push the builder on first, and helps the builder schedule work efficiently — our builder defects list covers the items worth prioritising.
4. Recommended Remedies
Where appropriate, the report indicates what the corrective action should be — "re-seal silicone around shower tray" rather than just "silicone gap". This eliminates ambiguity about what "fix" means.
5. Summary & Property Overview
The report opens with property details (address, plot number, inspection date) and a short summary of overall findings. This gives the builder context at a glance.
How to Use the Report with Your Builder
The standard workflow is:
- Email the full report (PDF) to your builder's customer-care contact or site manager
- Ask for written confirmation of which items they will address and a timeline
- Keep all communication in writing — emails, not phone calls
- After repairs, walk through the property again and check items off the list (a "re-inspection" or "second visit" by your snagging inspector is often available)
Builders may push back on certain items — typically cosmetic ones — but a professional, photographed report makes that pushback much harder to sustain.
How Long Should You Wait for Action?
Reasonable timelines depend on the defect:
- Safety items: within days
- Functional items: a few weeks
- Cosmetic items: typically completed within the first warranty period (often 12–24 months)
If a builder is unresponsive, your report is also the evidence base for escalation — to their customer-care department, to the warranty provider, or in worst cases to a small claims process.
Professional Report vs DIY Snag List
You can absolutely make your own snag list walking through your new home with a clipboard, using our new build defects checklist as a starting point. The difference a professional report makes is:
- Coverage — trained inspectors know where to look, including hidden areas (attic, behind doors, under sinks)
- Credibility — builders respond differently to a professional report than to a buyer's handwritten list
- Evidence — consistent, high-quality photographs documented at inspection time
- Tools — moisture meters, thermal imaging, levels and other equipment most buyers don't have
How to Read Yours When You Get It
When your report arrives, read it once cover-to-cover, then a second time room by room while standing in the property if possible. Mark anything you have questions about — your inspector should be happy to clarify any item by phone or email before you send it to the builder.
Want a clear, detailed snagging report?
Get a professional inspection with full photographic evidence.
Get Your Free Quote